On Mac including 2 built in function for record audio file, you can use Voice Memos or QuickTime
How to record audio on Mac with Voice Memos
1. Open the Voice Memos app.
2. Click the large red circle to start recording sound.
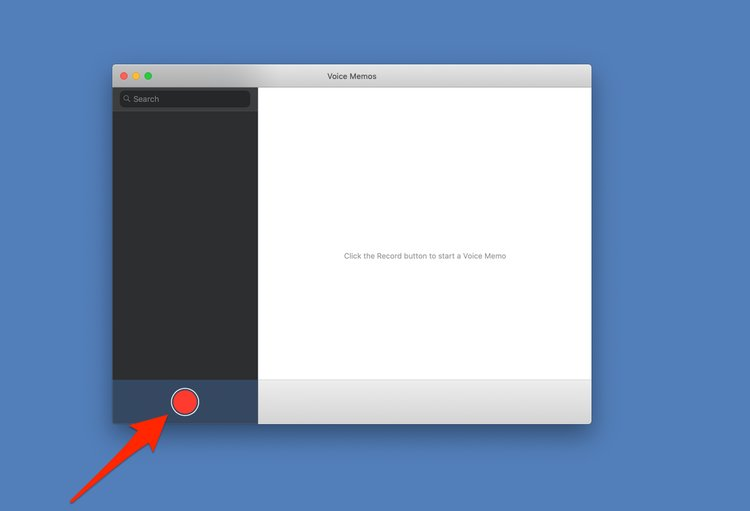
Start the recording by clicking the red button.
3. Click the red pause button (two parallel vertical lines in an oval) to stop the recording.
4. If done, click Done, then click on the words “New Recording” to name the file.
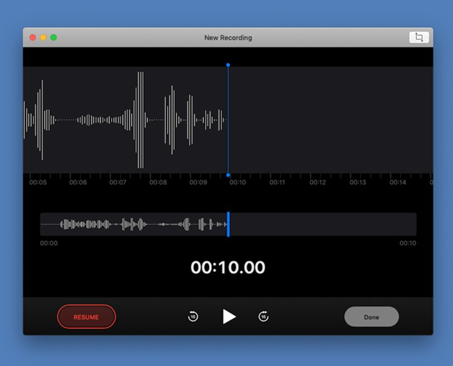
Once paused, you can resume recording or click “Done” to end the recording.
You can access these files any time by opening the Voice Memos app, and you can edit or add to the recording by clicking on the file, then clicking the Edit button in the top-right corner. You can crop or re-record segments of the clip from within the Voice Memos app.
If you want to share your recording, click the Share icon (a box with an arrow pointing up out of it) in the top-right corner, and select how to want to send it.
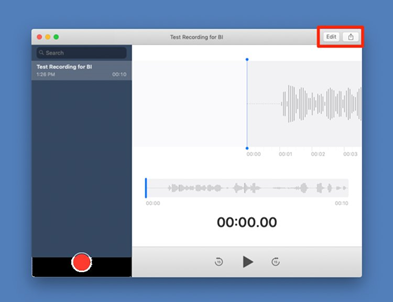
You can edit or share the recording from the Voice Memos app.
How to record audio on Mac with QuickTime
QuickTime offers one noted benefit over Voice Memos: it’s much easier to pick where you save the audio, and to share the files.
1. Open the QuickTime Player.
2. Click File, then click New Audio Recording.
3. Hit the red circle in the middle of the gray circle to start recording.
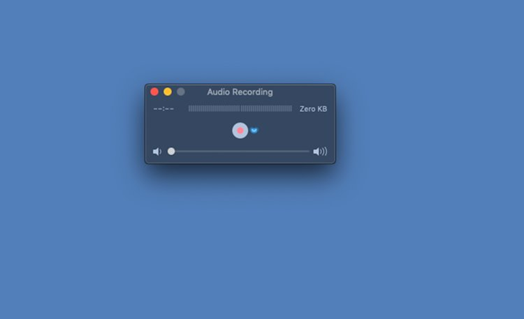
You have to open a new recording from the File menu before you can begin recording.
4. Click the dark gray square to stop recording.
5. Click File, then Save… to choose the name for the recording and where you’ll save it.
You can then share this file through email or other programs that allow you to upload files.
 Facebook