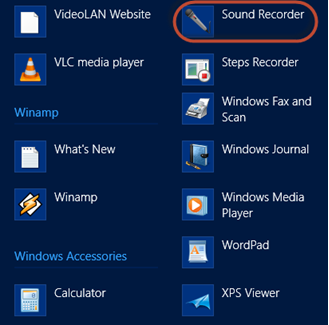
In Windows 8, go to the Start screen. Right click or swipe from the bottom, to bring up the contextual menu. There, click or tap All Apps. In the All Apps list, go to Windows Accessories and look for the Sound Recorder shortcut.
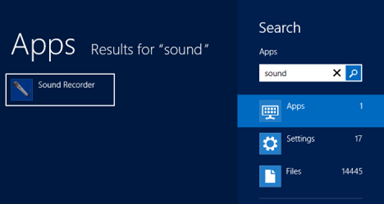
An easier way is to type the word sound directly on the Start screen. The Sound Recorder shortcut is immediately displayed in the Apps list.
The Sound Recorder window in Windows 8 is identical to its Windows 7 version.

How to Start, Stop and Resume a Recording
As soon as you start the Sound Recorder, you can immediately tell if the microphone is working correctly. If sound is detected, the green sound bar will be moving, according to the strength of the sound.

If you notice no movement, plug in the microphone and double check that is working. When the microphone is set up and working, press the Start Recording button.
While you are recording, you can see the duration of the recording being displayed by the timer, in the middle of the Sound Recorder window.

When you want to finish the recording, press Stop Recording.
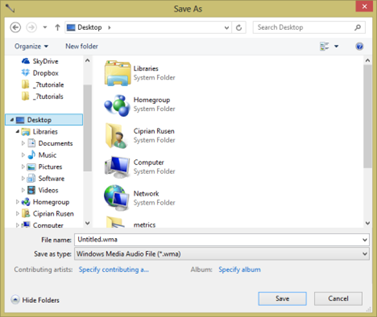
You are now required to choose a location and the file name for your recording. The default file extension is wma and the file type is Windows Media Audio. Other file extensions are not supported by this program. Therefore, if you want your recordings stored as mp3 files, you will have to convert them with another program.
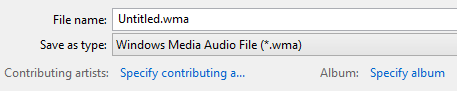
For each recording, you can add details like the contributing artists and the album name. You should complete these fields if there’s any value to you doing so.
When done, press the Save button and the recording is saved.
If you want to resume the recording, don’t press Save. Click or tap Cancel instead.
 Facebook